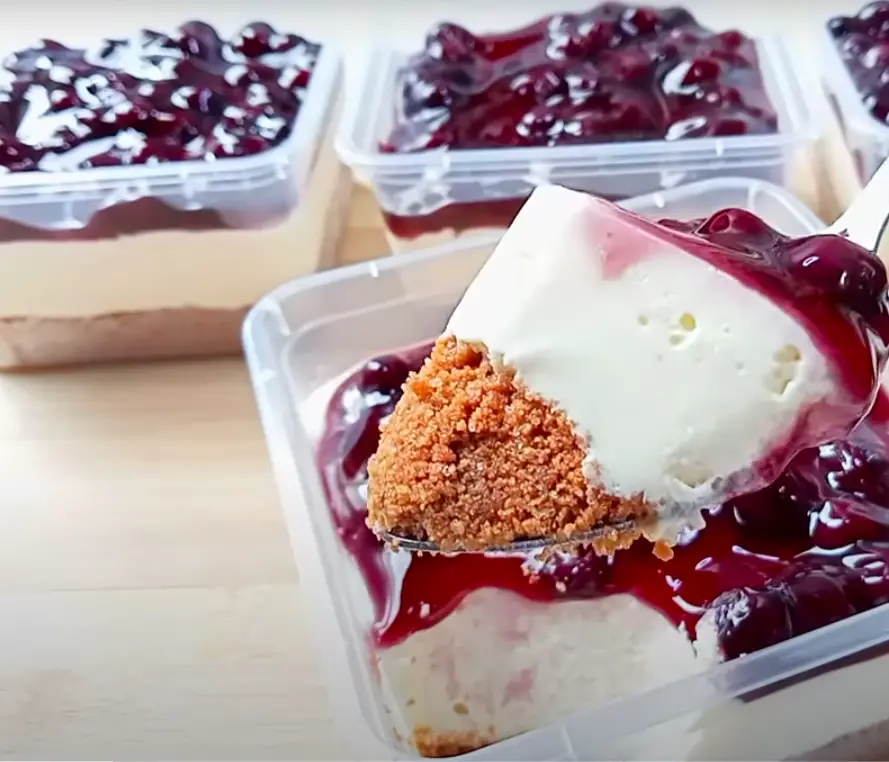
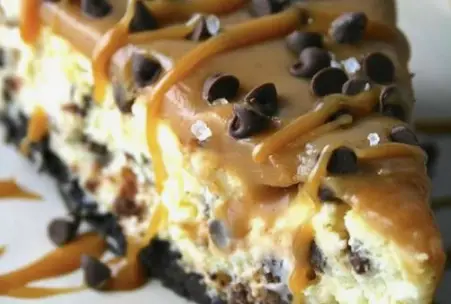
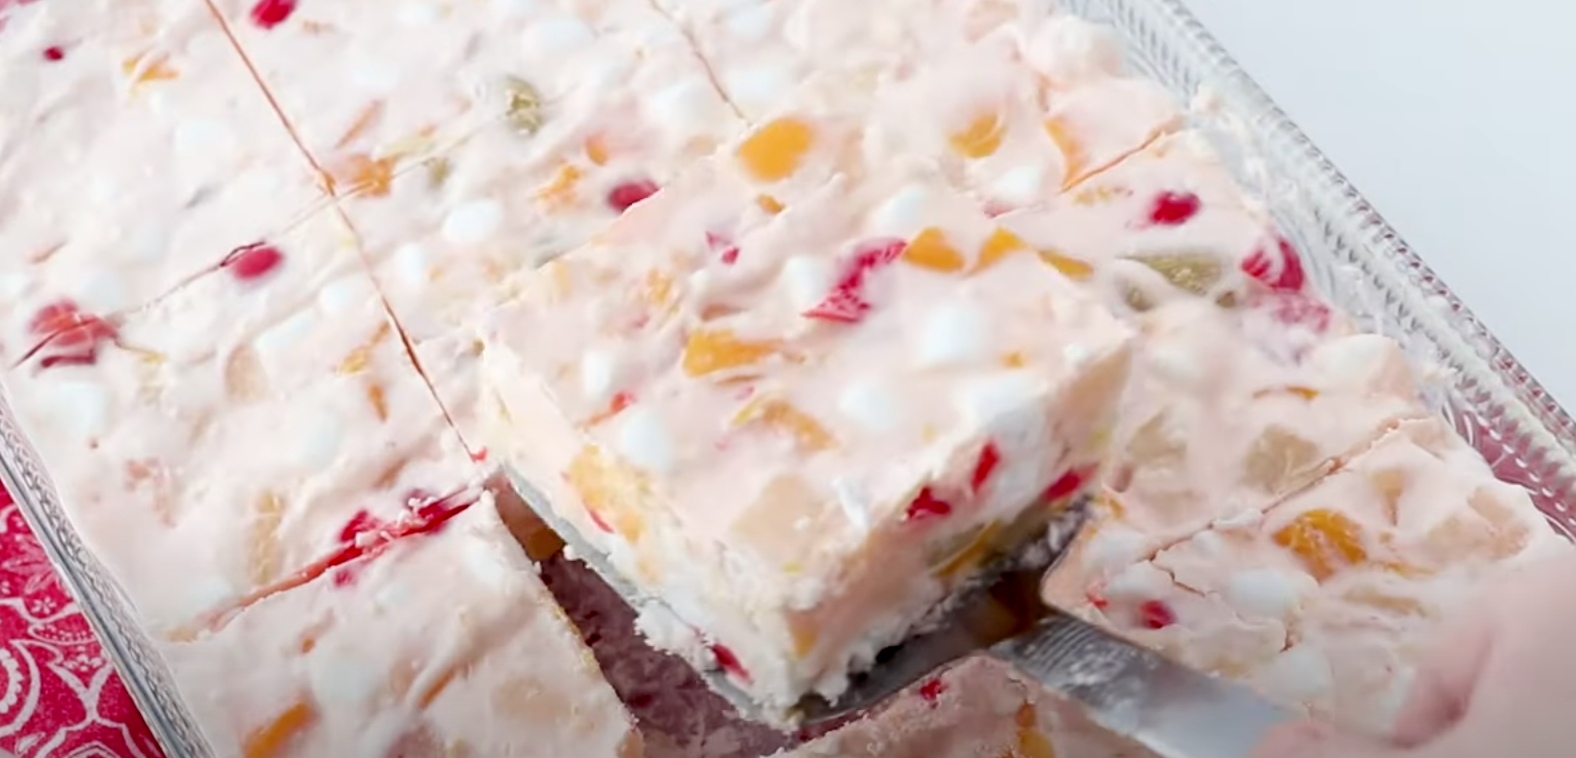
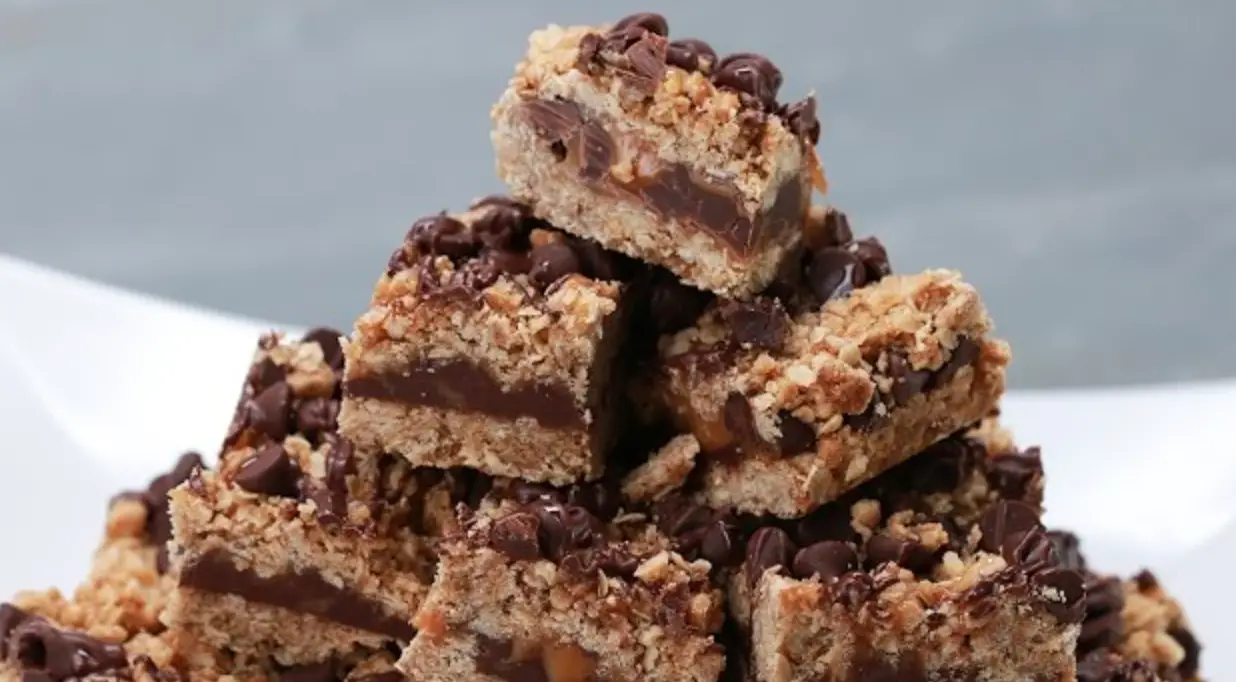
Cheesecake is a classic dessert that never goes out of style. It’s creamy, indulgent, and versatile, making it a perfect treat for any occasion. And with this no-bake blueberry cheesecake recipe, you can enjoy all the deliciousness without the fuss of baking. In this blog post, we’ll provide you with a step-by-step guide to making this delightful dessert, complete with all the necessary ingredients and cooking instructions.
Ingredients for No-Bake Blueberry Cheesecake:
For the crust:
- 1 1/2 cups of graham cracker crumbs
- 1/4 cup of granulated sugar
- 1/2 cup of melted butter
For the filling:
- 2 (8 oz) packages of cream cheese, softened
- 1 cup of powdered sugar
- 1/4 cup of lemon juice
- 1 teaspoon of vanilla extract
- 1 cup of fresh blueberries
For the topping:
- 1 cup of fresh blueberries
- 1/4 cup of granulated sugar
- 1 tablespoon of lemon juice
- 1 tablespoon of cornstarch
- 1/4 cup of water
Instructions for No-Bake Blueberry Cheesecake:
- In a large bowl, combine the graham cracker crumbs, granulated sugar, and melted butter. Mix well until the crumbs are coated with butter.
- Press the crumb mixture into the bottom of a 9-inch springform pan. Use the bottom of a measuring cup or glass to press the crumbs down firmly.
- Place the crust in the refrigerator to chill while you prepare the filling.
- In a large bowl, beat the cream cheese until smooth and creamy.
- Add the powdered sugar, lemon juice, and vanilla extract to the cream cheese and mix until well combined.
- Gently fold in the blueberries.
- Pour the filling over the chilled crust and smooth out the top with a spatula.
- Cover the cheesecake with plastic wrap and refrigerate for at least 2 hours, or until set.
Instructions for Blueberry Topping:
- In a small saucepan, combine the blueberries, granulated sugar, lemon juice, cornstarch, and water.
- Cook the mixture over medium heat, stirring occasionally, until the blueberries have burst and the mixture has thickened, about 5-7 minutes.
- Remove the pan from the heat and let the mixture cool.
- Once cooled, pour the blueberry topping over the chilled cheesecake and spread it evenly.
- Return the cheesecake to the refrigerator and chill for at least 1 hour, or until the topping is set.
To serve:
Remove the cheesecake from the springform pan and slice into pieces. Serve chilled, and enjoy the creamy, fruity goodness of this no-bake blueberry cheesecake!
Conclusion:
No-bake blueberry cheesecake is a delicious and simple dessert that’s perfect for any occasion. With its creamy texture and fruity flavor, it’s sure to be a crowd-pleaser. By following the step-by-step instructions and using the ingredients provided, you’ll have everything you need to make this dessert a success. So why not give it a try? You won’t be disappointed!
Here are some additional tips and variations to make this no-bake blueberry cheesecake recipe even more delectable:
- For the crust, you can use any type of cookie crumbs instead of graham crackers, such as Oreos or vanilla wafers.
- To make the cheesecake even creamier, add 1/2 cup of sour cream to the filling mixture.
- If you don’t have fresh blueberries, you can use frozen ones instead. Just make sure to thaw them before using in the recipe.
- For a more intense blueberry flavor, add a few drops of blueberry extract to the filling mixture.
- You can also use other types of berries in the topping, such as strawberries or raspberries.
- To make the cheesecake more festive, add some red and blue sprinkles to the top before serving.
- For a gluten-free version, use gluten-free graham crackers or cookies for the crust.
- To make mini cheesecakes, use a muffin tin instead of a springform pan and line each cup with a cupcake liner. Press the crust mixture into the bottom of each cup and pour the filling over the top. Chill and add the topping as usual.
Overall, this no-bake blueberry cheesecake recipe is simple to make and customizable to suit your taste preferences. Whether you stick to the classic recipe or experiment with some of these variations, you’re sure to end up with a delicious dessert that everyone will love.
