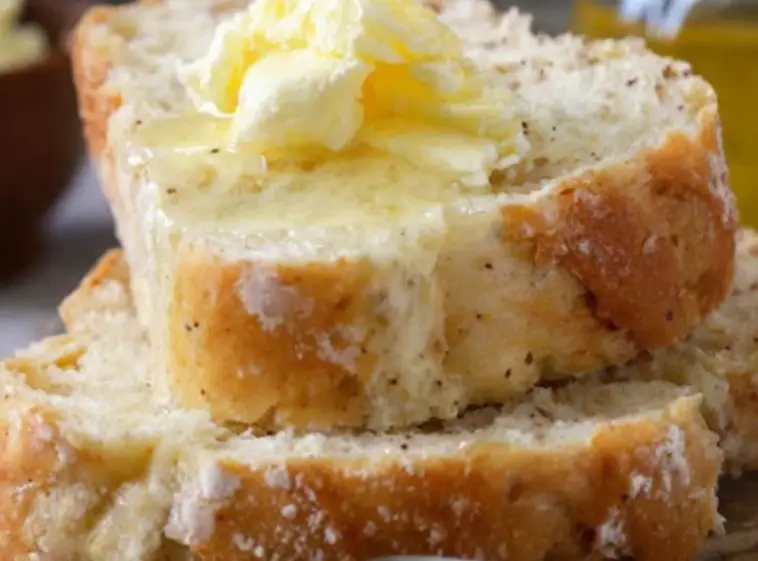
Irish Soda Bread is a humble yet cherished staple of Irish cuisine, celebrated for its simplicity, hearty texture, and rich flavor. This traditional bread, born out of necessity in 19th-century Ireland, has evolved into a beloved recipe worldwide, admired not only for its taste but also for its cultural significance and historical roots.
Historical Background
The origins of Irish Soda Bread can be traced back to the mid-1800s, a period marked by hardship and poverty in Ireland. During this time, baking soda (bicarbonate of soda) became a widely available leavening agent, particularly after the introduction of bicarbonate soda to Ireland in the early 19th century. The combination of soda with buttermilk, which was commonly used in Irish households, allowed for the creation of a quick and inexpensive bread that could be made without yeast or lengthy fermentation processes.
Ingredients
The classic ingredients for Irish Soda Bread reflect its simplicity and practicality:
- Flour: 4 cups of all-purpose flour form the base of the bread.
- Baking Soda: 1 teaspoon of baking soda provides the leavening agent.
- Salt: 1 teaspoon of salt enhances the flavor of the bread.
- Buttermilk: Approximately 1 3/4 cups of buttermilk moistens the dough and reacts with the baking soda to create the rise.
Making Irish Soda Bread: Step-by-Step
- Preparation:
- Preheat your oven to 425°F (220°C). Prepare a baking sheet by greasing it lightly or lining it with parchment paper.
- Mixing the Dry Ingredients:
- In a large mixing bowl, combine the flour, baking soda, and salt. Use a whisk or fork to ensure even distribution of the dry ingredients.
- Incorporating Buttermilk:
- Make a well in the center of the dry ingredients and pour in most of the buttermilk. Use a wooden spoon or your hands to gently mix the ingredients until they come together into a soft dough. Add more buttermilk if needed to achieve a moist but not sticky consistency.
- Shaping the Dough:
- Turn the dough out onto a lightly floured surface. Gently knead the dough just enough to shape it into a round loaf. Avoid overworking the dough, as this can make the bread tough.
- Scoring the Dough:
- Place the shaped dough onto the prepared baking sheet. Using a sharp knife, score a deep cross or X into the top of the loaf. This not only adds a traditional look but also helps the bread to expand evenly during baking.
- Baking:
- Transfer the baking sheet to the preheated oven. Bake the bread for about 30-35 minutes, or until the loaf is golden brown and sounds hollow when tapped on the bottom.
- Cooling and Serving:
- Remove the bread from the oven and transfer it to a wire rack to cool completely. Allow it to cool for at least 10 minutes before slicing. Serve warm or at room temperature, accompanied by butter or your favorite toppings.
Tips for Success
- Use Cold Buttermilk: Cold buttermilk helps to activate the baking soda effectively, ensuring a good rise and texture.
- Avoid Overmixing: Mix the dough just until it comes together. Overmixing can lead to a dense and tough loaf.
- Check for Doneness: The bread is done when it has a golden-brown crust and sounds hollow when tapped on the bottom.
Variations
Irish Soda Bread is versatile and can be adapted to suit different tastes:
- Whole Wheat Soda Bread: Substitute part or all of the all-purpose flour with whole wheat flour for a heartier texture.
- Sweet Soda Bread: Add raisins or currants to the dough along with a tablespoon of sugar for a sweeter version.
- Herb and Cheese Soda Bread: Mix in grated cheese (like cheddar) and chopped herbs (such as rosemary or thyme) for a savory twist.
Irish Soda Bread continues to hold a special place in both Irish culture and kitchens worldwide. Its enduring popularity lies in its simplicity, versatility, and the warm memories it evokes. Whether enjoyed fresh out of the oven or toasted with butter the next day, Irish Soda Bread remains a delightful symbol of tradition and comfort.
By following these steps and tips, you can master the art of baking Irish Soda Bread at home, enriching your culinary repertoire with a taste of history and heritage. Embrace the process, savor the results, and share this timeless recipe with family and friends. Happy baking!


