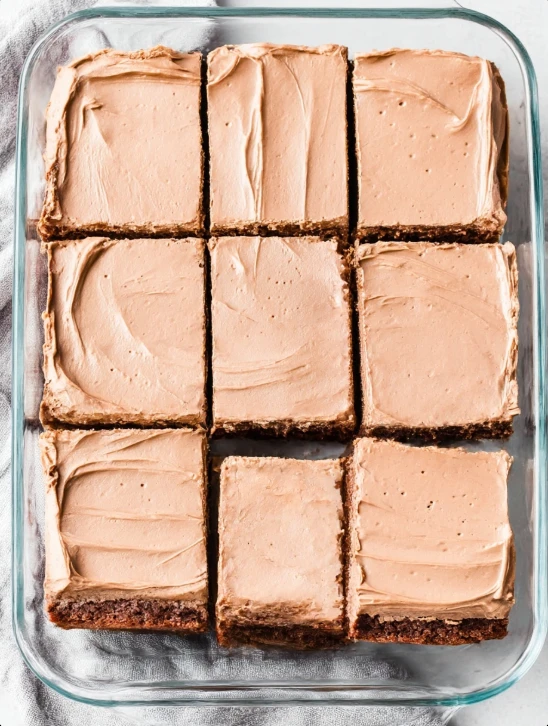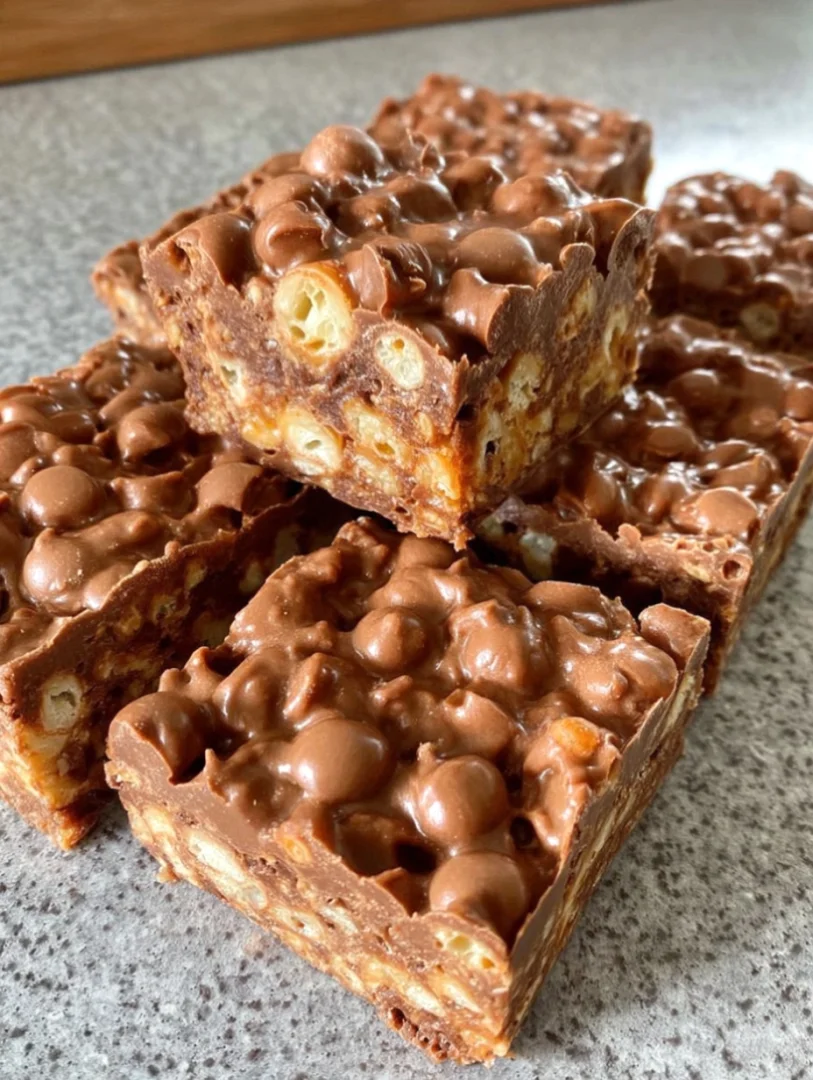
Chocolate Crunch Bars are the perfect sweet treat for anyone craving a delightful combination of rich chocolate and satisfying crunch. These no-bake chocolate desserts are not only simple to prepare but also offer a delicious way to enjoy homemade chocolate snacks. With a blend of crispy textures and sweet flavors, they make wonderful chocolate desserts for kids and adults alike. This recipe will guide you through the steps of creating these crispy chocolate treats that are sure to impress! Whether you’re looking for a quick snack or a dessert for a gathering, these bars can satisfy any chocolate lover’s cravings. Their versatility and ease of preparation make them a go-to recipe for any occasion.
Ingredients
- Dry Ingredients:
- 2 cups of crispy rice cereal – Ensure you choose a high-quality brand for the best crunch. Brands like Kellogg’s or General Mills provide a consistent texture and flavor that will elevate your bars.
- 1 cup of rolled oats – Old-fashioned rolled oats work best for texture, but quick oats can also be used if you prefer a finer consistency. The oats not only add crunch but also a wholesome element to your bars.
- 1 cup of chopped nuts (such as almonds, peanuts, or walnuts) – Choose your favorite nuts for added flavor and crunch, and feel free to mix different types for variety. Toasted nuts can provide a deeper flavor that complements the chocolate beautifully.
- Wet Ingredients:
- 1 cup of chocolate chips (milk or dark chocolate) – For a richer flavor, opt for dark chocolate with a higher cocoa content. You can also experiment with flavored chocolate chips, such as mint or sea salt caramel, for a twist on the classic.
- 1/2 cup of creamy peanut butter – Smooth peanut butter ensures even mixing; you can use natural peanut butter for a healthier option. If you have nut allergies, sunflower seed butter is a fantastic alternative that works well in this recipe.
- 1/4 cup of honey or maple syrup – Both sweeteners add a unique flavor; honey will give a more caramel-like taste, while maple syrup adds a touch of earthy sweetness. Choose a high-quality maple syrup to enhance the overall flavor of the bars.
- Toppings (optional):
- 1/4 cup of shredded coconut – Toasted coconut can enhance the flavor even more and add an extra layer of crunch. Make sure to watch it closely as it toasts, as it can burn quickly.
- Additional chocolate chips for drizzling – Melt a few extra chocolate chips for an elegant touch and extra sweetness on top of your bars. You can experiment with white chocolate chips for a beautiful contrast in color and flavor.
Note: You can use gluten-free rice cereal to make this recipe suitable for gluten-free chocolate bars. Feel free to substitute the nuts with seeds for a nut-free version. If you have dietary restrictions or preferences, this recipe is versatile enough to accommodate various needs. You can learn more about this topic. This adaptability makes Chocolate Crunch Bars a perfect treat for parties, bake sales, or simply as a sweet snack at home.
Steps / Instructions
- Prepare the Pan: Line an 8×8 inch square baking pan with parchment paper, leaving some overhang for easy removal later. This step is crucial as it prevents the bars from sticking and allows for clean, easy lifting once set. Ensure the parchment paper is pressed against the corners for a snug fit.
- Melt the Chocolate Mixture: In a medium saucepan over low heat, combine the chocolate chips, peanut butter, and honey. Stir constantly until melted and smooth, about 3-5 minutes. Remove from heat when the mixture is glossy and fully melted, ensuring no lumps remain. Keep an eye on the heat, as chocolate can burn easily if left unattended.
- Mix Dry Ingredients: In a large mixing bowl, combine the crispy rice cereal, rolled oats, and chopped nuts. Mix well to combine, ensuring the nuts are evenly distributed throughout the dry ingredients. This step is important for balanced flavor in every bite.
- Combine Wet and Dry Ingredients: Pour the melted chocolate mixture over the dry ingredients. Stir until everything is evenly coated, making sure no dry patches remain visible. This step is important to achieve the perfect chocolate crunch bars. Use a spatula to scrape the bottom of the bowl to ensure all ingredients are well combined.
- Press into the Pan: Transfer the mixture into the prepared baking pan. Use a spatula or your hands to press the mixture down firmly and evenly into the pan, creating a compact and level surface. This will help the bars hold together once set. A little bit of effort here will ensure that your bars don’t crumble apart.
- Add Toppings: If desired, sprinkle shredded coconut on top of the mixture and gently press it in. Drizzle with additional melted chocolate chips if you wish, which adds both visual appeal and an extra layer of chocolaty goodness. Let your creativity shine by designing fun patterns with the drizzle!
- Chill: Place the pan in the refrigerator for at least 1-2 hours, or until the bars are set and firm. If you’re in a hurry, you can speed up the process by placing them in the freezer for about 30 minutes. Ensure they’re fully chilled before slicing for the best texture.
- Slice and Serve: Once set, lift the bars out of the pan using the parchment overhang. Cut into squares or rectangles using a sharp knife. Enjoy your delicious Chocolate Crunch Bars! These bars are not only perfect for snacking but also great for packing in lunchboxes or serving at parties. Their aesthetic appeal can make them a centerpiece at any dessert table.
Tips & Tricks
For the best texture and flavor, here are some helpful tips: Check out our related guide for more tips. Following these recommendations will enhance both the taste and presentation of your Chocolate Crunch Bars.
- Storage: Store the bars in an airtight container in the refrigerator for up to one week. They can also be frozen for longer storage, making them a convenient option for future snacking. Be sure to separate layers with parchment paper to prevent sticking.
- Make-Ahead: These bars are great for meal prep! Prepare them on the weekend for quick snacks throughout the week. They also make a fantastic treat for gatherings or parties, ensuring you always have a sweet option available.
- Common Mistakes: Ensure that the chocolate mixture is completely melted and smooth before mixing it with the dry ingredients to avoid clumps. If you find the mixture is too thick, a small splash of milk can help loosen it up. Always taste the mixture before pressing it into the pan to ensure the flavor is to your liking.
- Pro Techniques: For an extra crunch, lightly toast the nuts before adding them for additional flavor. This step enhances their natural oils and brings out their nuttiness, making your Chocolate Crunch Bars even more delicious. You can also experiment with different nuts or nut blends for varied results.
Variations
Feel free to customize your Chocolate Crunch Bars with these variations:
- Vegan Option: Use dark chocolate chips and maple syrup instead of honey for a vegan version that everyone will love. Additionally, consider adding chia seeds for an added nutritional boost.
- Flavor Variations: Add a teaspoon of vanilla extract or a pinch of sea salt to enhance the flavors. You can also experiment with spices like cinnamon or nutmeg for a unique twist. These subtle additions can elevate the overall profile of your bars.
- Ingredient Swaps: Substitute the nuts with seeds like sunflower or pumpkin seeds for a nut-free version. You can also add dried fruits, such as raisins or cranberries, for a chewy texture and added sweetness, making the bars even more appealing.