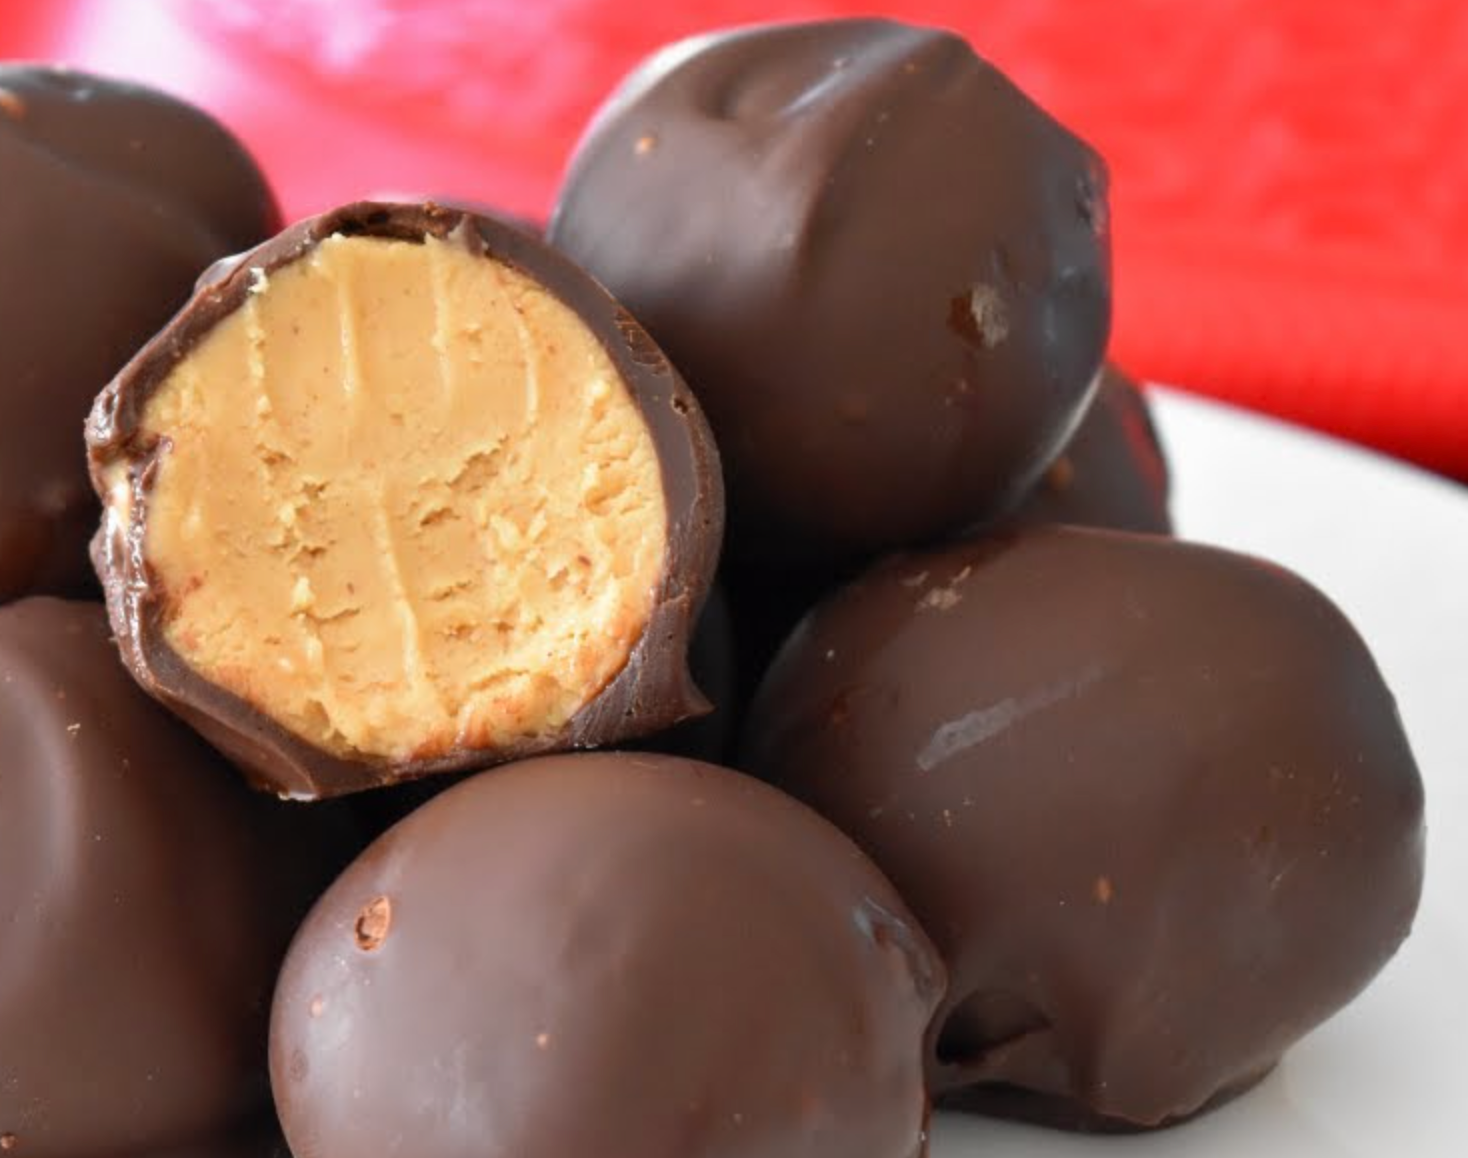
Irresistible Butterfinger Balls: A Sweet Crunchy Delight
Indulge in the delightful world of confectionery with our Butterfinger Balls—a treat that combines the iconic Butterfinger flavor with a satisfyingly crunchy texture. These bite-sized morsels offer a symphony of sweetness, nuttiness, and a touch of chocolate, making them a perfect homemade candy for any occasion.
Why Choose Butterfinger Balls?
Butterfinger Balls take the beloved flavors of the classic candy bar and transform them into a convenient bite-sized form. These treats are a wonderful addition to dessert tables, gift baskets, or simply as a delightful sweet treat to enjoy any time of day.
Ingredients:
– 2 cups crispy rice cereal
– 1 cup creamy peanut butter
– 1/2 cup powdered sugar
– 1/4 cup unsalted butter, melted
– 1 teaspoon vanilla extract
– 1 cup milk chocolate chips
– 1 tablespoon vegetable shortening
– Crushed Butterfinger candy bars for coating
Instructions:
*Step 1: Prepare the Base Mixture*
In a large bowl, combine the crispy rice cereal, creamy peanut butter, powdered sugar, melted unsalted butter, and vanilla extract. Mix well until all the ingredients are thoroughly combined.
*Step 2: Form the Balls*
Take small portions of the mixture and roll them into bite-sized balls. Place the balls on a baking sheet lined with parchment paper. The mixture may be slightly sticky, so you can lightly grease your hands with butter or cooking spray to make rolling easier.
*Step 3: Chill the Balls*
Place the baking sheet with the formed balls in the refrigerator to chill for about 20-30 minutes. Chilling helps the balls set and makes them easier to coat with chocolate.
*Step 4: Prepare the Chocolate Coating*
In a microwave-safe bowl, melt the milk chocolate chips and vegetable shortening in 20-second intervals, stirring between each interval, until smooth and melted.
*Step 5: Coat the Balls*
Dip each chilled ball into the melted chocolate mixture, using a fork to gently tap off any excess chocolate. Immediately roll the coated ball in crushed Butterfinger candy bars, ensuring an even and generous coating.
*Step 6: Set and Harden*
Place the coated Butterfinger Balls back onto the parchment-lined baking sheet. Allow them to set and harden. You can speed up the process by placing the baking sheet in the refrigerator for about 15-20 minutes.
*Step 7: Serve and Enjoy*
Once the chocolate coating has fully set, your Butterfinger Balls are ready to be savored. Arrange them on a serving platter or in colorful candy wrappers for an eye-catching presentation.
Tips for Perfect Butterfinger Balls:
1. **Crispy Rice Cereal:** Use high-quality crispy rice cereal for the best texture in the balls.
2. **Peanut Butter Consistency:** Choose creamy peanut butter that is well-mixed and not too oily for a smooth and consistent base.
3. **Chilling Time:** Ensure the balls are properly chilled before dipping them in chocolate. This helps the balls hold their shape and prevents them from falling apart during coating.
4. **Dipping Technique:** Use a fork to dip the balls into the melted chocolate. Gently tap off excess chocolate to avoid thick coatings.
5. **Crushed Butterfinger Coating:** Crush Butterfinger candy bars finely for a uniform coating. You can use a food processor or place the candy bars in a sealed plastic bag and crush them with a rolling pin.
6. **Chocolate Coating:** Add a tablespoon of vegetable shortening to the melted chocolate chips to achieve a smooth and easily dippable consistency.
7. **Melt Chocolate Gradually:** Melt the chocolate chips in short intervals in the microwave, stirring between each interval. This prevents overheating and ensures a smooth texture.
8. **Coating Consistency:** Aim for a thin, even coating of chocolate on each ball. This balances the flavors and prevents the balls from becoming overly sweet.
9. **Set and Harden:** Allow the coated balls to set completely before serving. Placing them in the refrigerator can speed up this process.
10. **Presentation:** For an attractive presentation, place the coated Butterfinger Balls in colorful candy wrappers or mini cupcake liners.
11. **Storage:** Store the finished Butterfinger Balls in an airtight container at room temperature or in the refrigerator. They can last for several days.
12. **Variations:** Feel free to experiment with different coatings such as crushed nuts, cocoa powder, or even drizzled melted white chocolate.
13. **Make-Ahead:** You can prepare the base mixture in advance and refrigerate it until you’re ready to form and coat the balls.
14. **Gift Idea:** Package the Butterfinger Balls in decorative boxes or jars to create thoughtful homemade gifts for special occasions.
15. **Enjoy Freshly Made:** While Butterfinger Balls can be stored, they are best enjoyed shortly after making to retain their optimal texture and flavor.
By following these tips, you’ll master the art of creating irresistible Butterfinger Balls that combine the beloved flavors of the classic candy bar with a delightful homemade touch. Enjoy the crunch, sweetness, and nuttiness in every bite!
Butterfinger Balls capture the essence of a beloved candy bar in a convenient and delightful homemade treat. With their sweet, crunchy exterior and creamy interior, these bite-sized morsels promise a burst of flavor and texture in every bite. So, embrace the joy of creating your own confections, share them with loved ones, and relish the blissful combination of flavors in each Butterfinger Ball.